
How to Remove Mold from Bathroom Ceiling

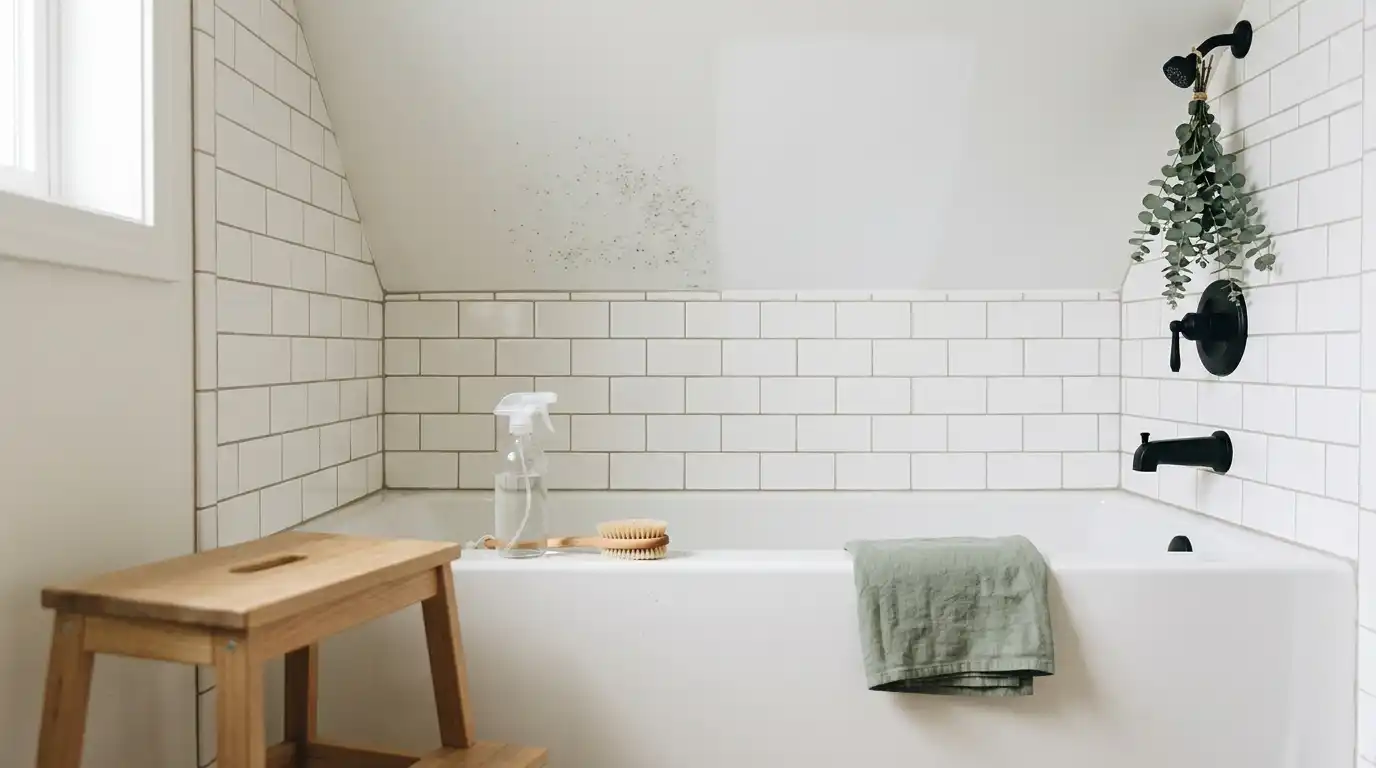
Nobody wants to look up while showering and see those ugly dark spots staring back at them.
Mold on the bathroom ceiling is one of the most common household problems — and honestly, one of the most annoying ones too.
The good news? You don’t need to call a professional for most cases. With the right tools and a little effort, you can tackle this yourself in an afternoon.
Why Does Mold Grow on Bathroom Ceilings?
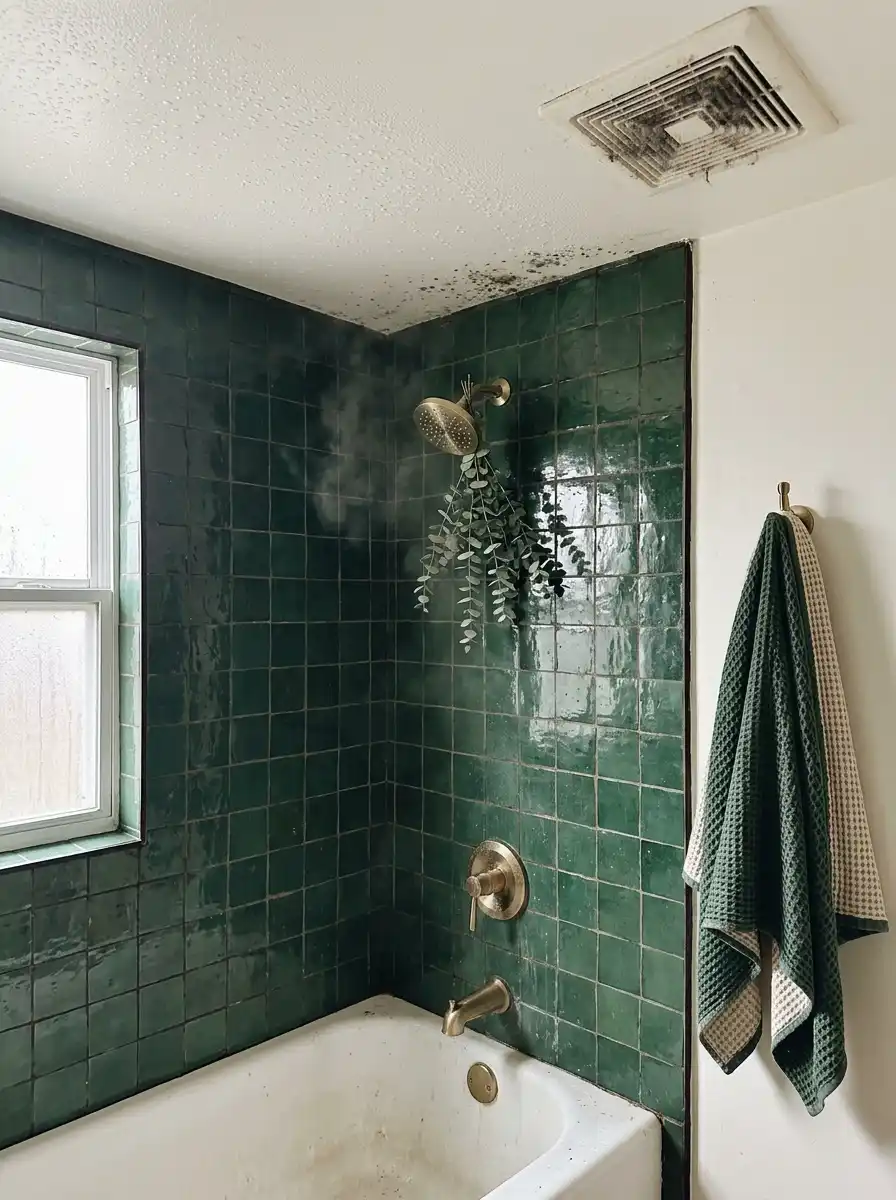
Before you grab that scrub brush, it helps to understand why mold keeps showing up in the first place.
Your bathroom is basically a mold’s dream home. Steam from hot showers, poor ventilation, and warm temperatures create the perfect environment for mold spores to settle and grow.
The ceiling is the worst-hit spot because heat and moisture rise — and if there’s no exhaust fan or it’s not working well, that moisture just sits there.
What You’ll Need Before You Start
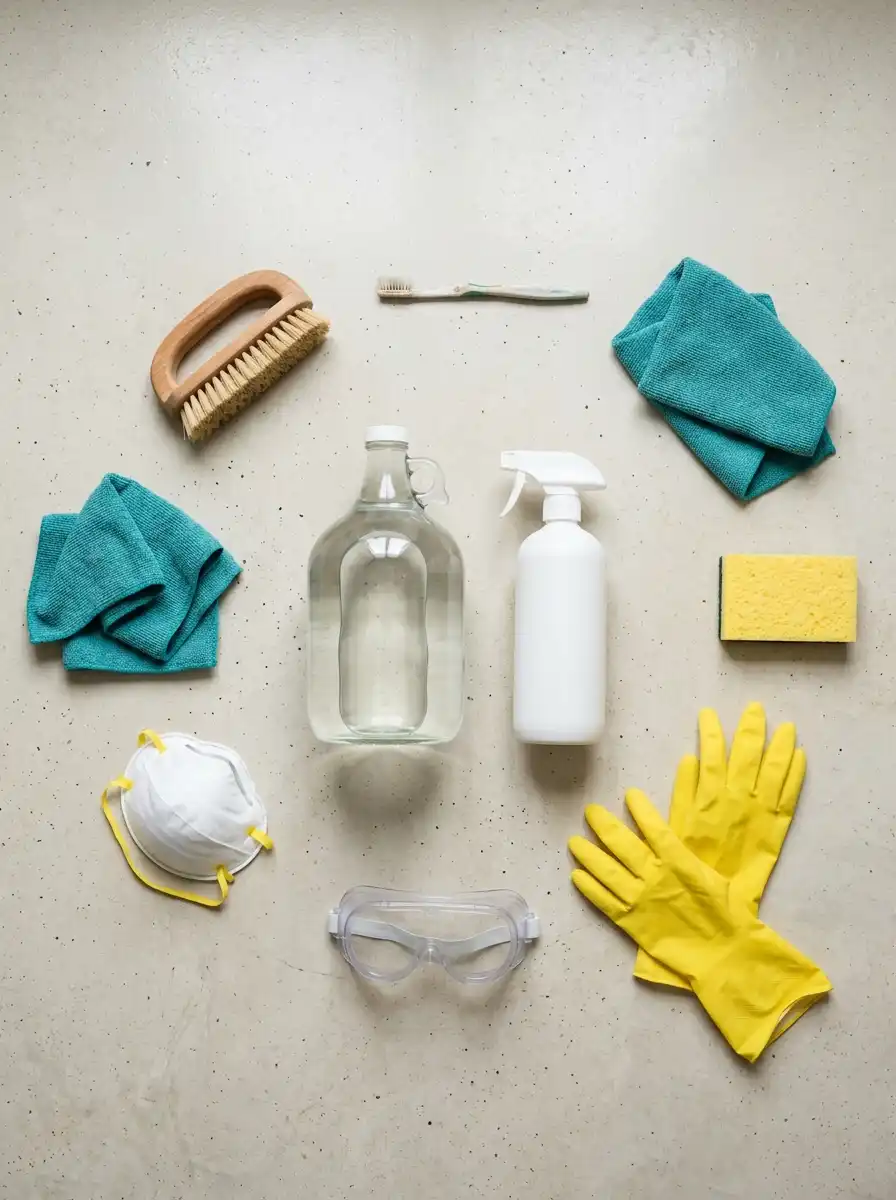
Getting your supplies together first saves a lot of back-and-forth. Here’s a quick checklist:
| Supply | Purpose |
|---|---|
| White vinegar or bleach solution | Kills mold spores |
| Spray bottle | Easy application |
| Scrub brush or old toothbrush | Scrubbing the surface |
| Microfiber cloth or sponge | Wiping and drying |
| Rubber gloves | Protecting your hands |
| Safety goggles | Eye protection |
| N95 or dust mask | Avoid inhaling spores |
| Stepladder | Safe ceiling access |
Always protect yourself first. Mold spores can irritate your lungs and skin, so don’t skip the gloves and mask.
How to Remove Mold from Bathroom Ceiling: Step-by-Step
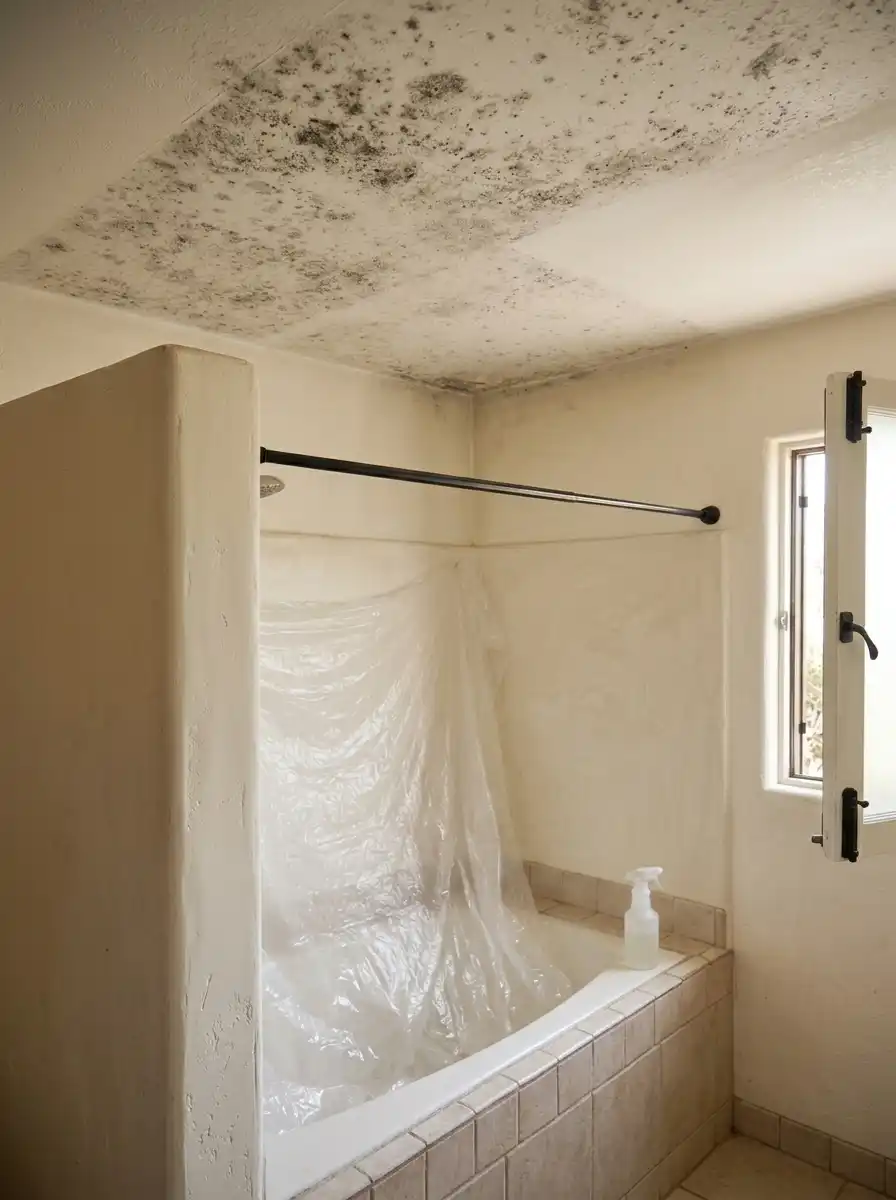
Here’s the process broken down so it’s easy to follow, even if you’ve never dealt with mold before.
Step 1: Ventilate the Bathroom
Open the window and turn on the exhaust fan before you do anything else.
You want fresh air moving through the room while you work. This reduces the fumes from your cleaning solution and prevents mold spores from settling elsewhere in the room.
Step 2: Protect Yourself and the Space
Put on your gloves, goggles, and mask. Lay an old towel or plastic sheet on the floor below where you’ll be working.
Cleaning solutions can drip — and you don’t want bleach spots on your bath mat or floor tiles.
Step 3: Make Your Cleaning Solution
You’ve got two solid options here depending on what you have at home:
- White vinegar (undiluted): A natural, non-toxic option. Pour it straight into a spray bottle. It’s effective for light to moderate mold.
- Bleach solution: Mix 1 cup of bleach with 1 gallon of water. Use this for heavier mold growth or stubborn stains.
Do not mix bleach and vinegar together — that combination creates toxic fumes.
Step 4: Apply the Solution
Spray your chosen solution generously over the moldy area on the ceiling. Make sure it’s fully saturated.
Let it sit for at least 10–15 minutes. This dwell time is important — it gives the solution time to actually kill the mold rather than just moving it around.
Step 5: Scrub the Mold Away
Using your scrub brush, work in small circular motions to lift the mold off the ceiling surface.
For tight corners or textured ceilings, an old toothbrush works great. Take your time here — rushing this step means you’ll be back doing it again next month.
Step 6: Wipe and Dry Thoroughly
Wipe away the residue with a damp microfiber cloth, then go over the area again with a dry cloth.
This step is crucial. Leaving moisture behind after cleaning basically invites the mold right back. Make sure the ceiling is completely dry before you consider the job done.
Step 7: Apply a Mold-Resistant Primer (Optional but Smart)
If the mold has been a recurring problem in the same spot, consider applying a mold-resistant primer or paint after cleaning.
These products form a barrier on the surface that makes it much harder for mold to take hold again. You can find them at any hardware store for around $20–$30.
How to Remove Mold from Bathroom Ceiling
Step 1: Ventilate the Bathroom
Open all windows and doors. Turn on the bathroom exhaust fan to create constant airflow and prevent inhaling concentrated spores or cleaning fumes.
Step 2: Protect Yourself and the Space
Safety first: Put on a N95 mask, rubber gloves, and safety goggles. Lay down plastic drop cloths over your floors, tub, and vanity to catch dripping liquids and spores.
Step 3: Make Your Cleaning Solution
Mix a safe, effective solution using mild dish soap, warm water, and either white vinegar or baking soda. Avoid mixing bleach with ammonia-based products.
Step 4: Apply the Solution
Pour the solution into a spray bottle and mist the affected ceiling area evenly. Allow the mixture to sit for 10 to 15 minutes to break down the mold structure.
Step 5: Scrub the Mold Away
Using a soft-bristled brush or a sponge, gently scrub the ceiling. Avoid using hard, abrasive wire brushes that could damage the drywall or strip the paint.
Step 6: Wipe and Dry Thoroughly
Wipe the ceiling clean with a damp microfiber cloth. Follow up immediately with a dry towel. Leave the fan running until the ceiling is 100% dry to prevent regrowth.
Step 7: Apply a Mold-Resistant Primer (Optional but Smart)
Once completely dry, paint over the treated area with a high-quality mold and mildew-resistant primer to seal the surface and protect against future outbreaks.
When to Call a Professional
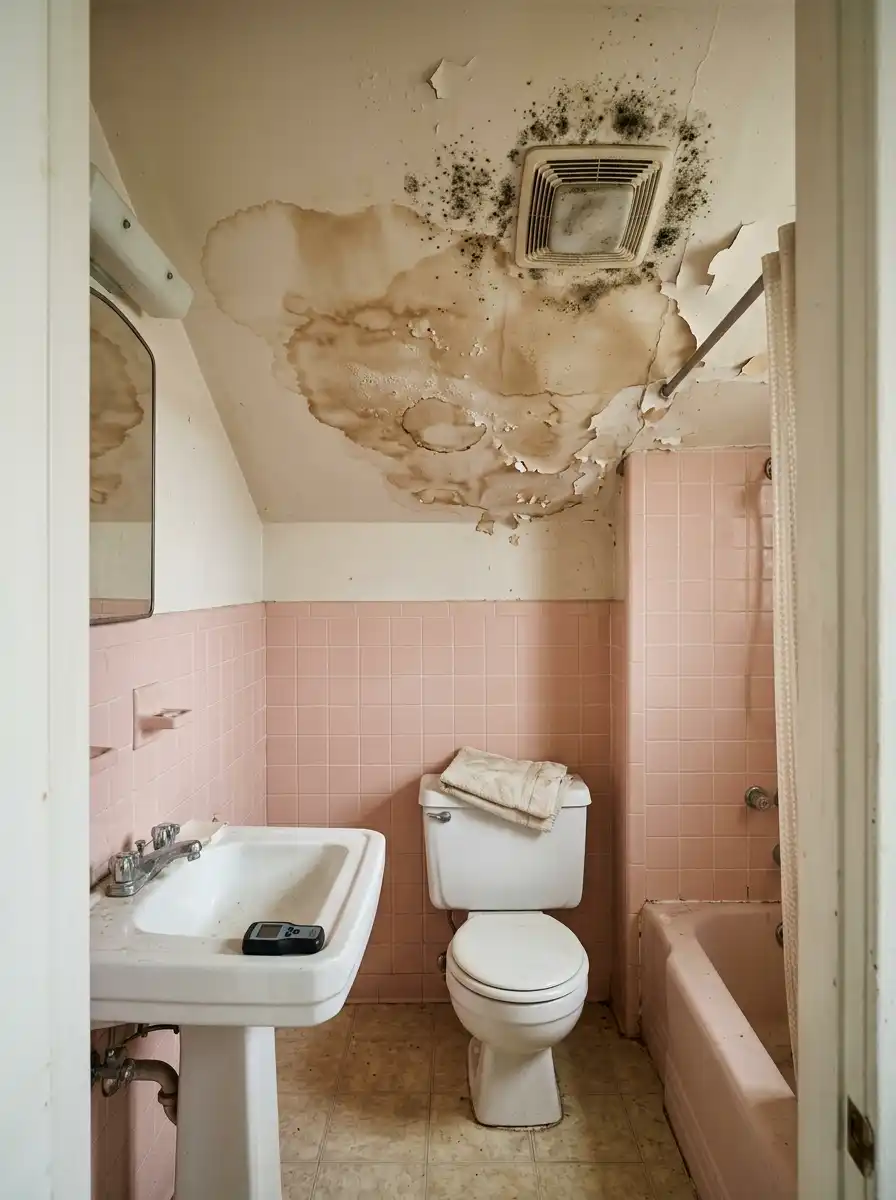
Most bathroom ceiling mold is surface-level and totally manageable at home. But there are times when it’s better to bring in an expert.
- The mold covers an area larger than 10 square feet
- You notice mold returning repeatedly within a few weeks
- The ceiling material feels soft or is visibly damaged
- You or someone in your home has respiratory issues or allergies
If any of these apply, a mold remediation specialist is worth the call. Extensive mold can sometimes indicate a deeper moisture problem — like a roof leak or hidden plumbing issue — that cleaning alone won’t fix.
How to Prevent Mold from Coming Back
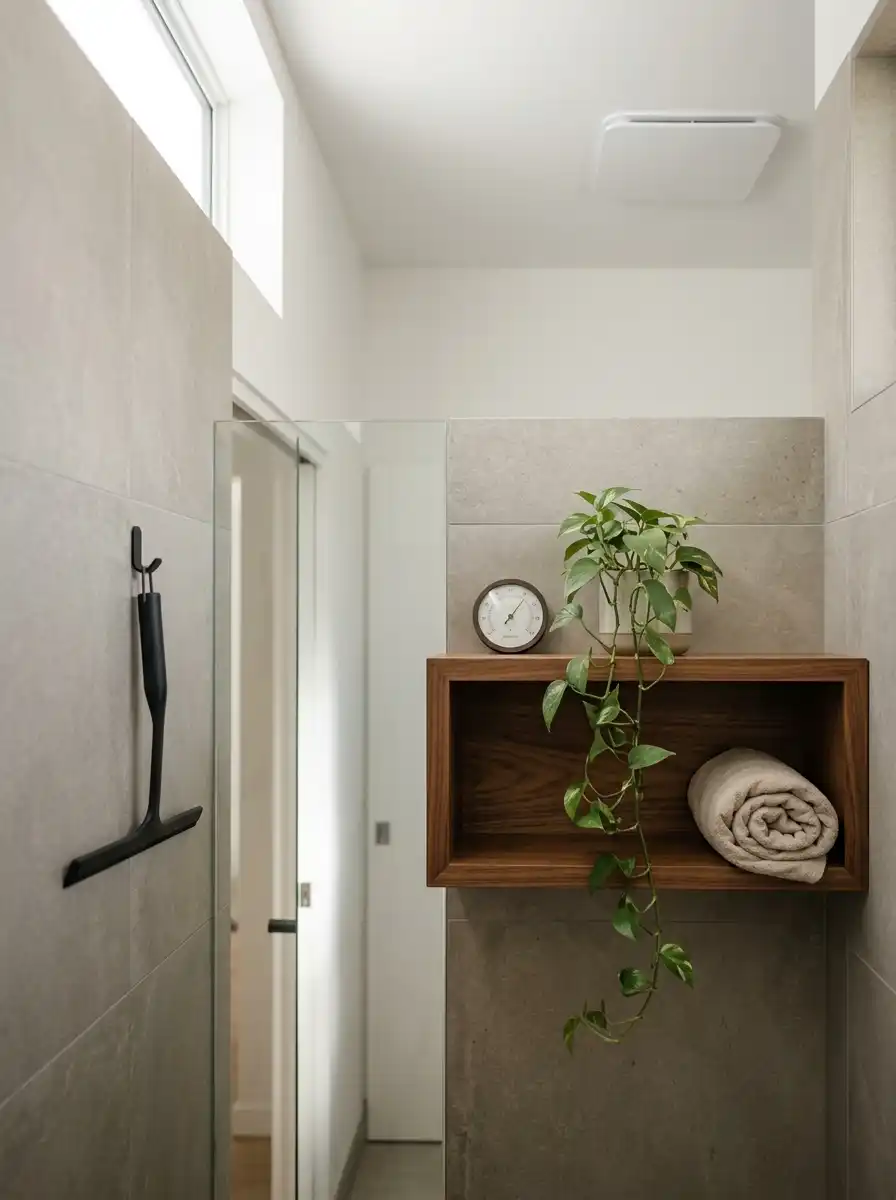
Getting rid of mold is satisfying. Keeping it gone is even better. Here are the habits that make the biggest difference:
- Run the exhaust fan during every shower and for 20 minutes afterward
- Keep a small squeegee in the shower and wipe down walls after use
- Leave the bathroom door open after showering to let steam escape
- Check your exhaust fan — if it’s weak or noisy, it may need cleaning or replacing
- Fix leaks quickly — even a small drip can create chronic moisture problems
- Use mold-resistant paint the next time you repaint your bathroom
A cheap hygrometer (humidity meter) can also be a great tool — if your bathroom humidity stays above 60%, it’s time to improve ventilation.
Quick Recap
Learning how to remove mold from bathroom ceiling surfaces is simpler than most people think.
The key steps come down to: protect yourself, apply the right solution, let it work, scrub thoroughly, and dry everything completely.
The bigger win is tackling the cause — usually poor ventilation — so you’re not repeating this process every few months.
Your bathroom should feel fresh and clean, not like something growing in there uninvited. With these steps, you’re well on your way to keeping it that way.
