
How to Deep Clean Bathroom: A Complete Room-by-Room Guide

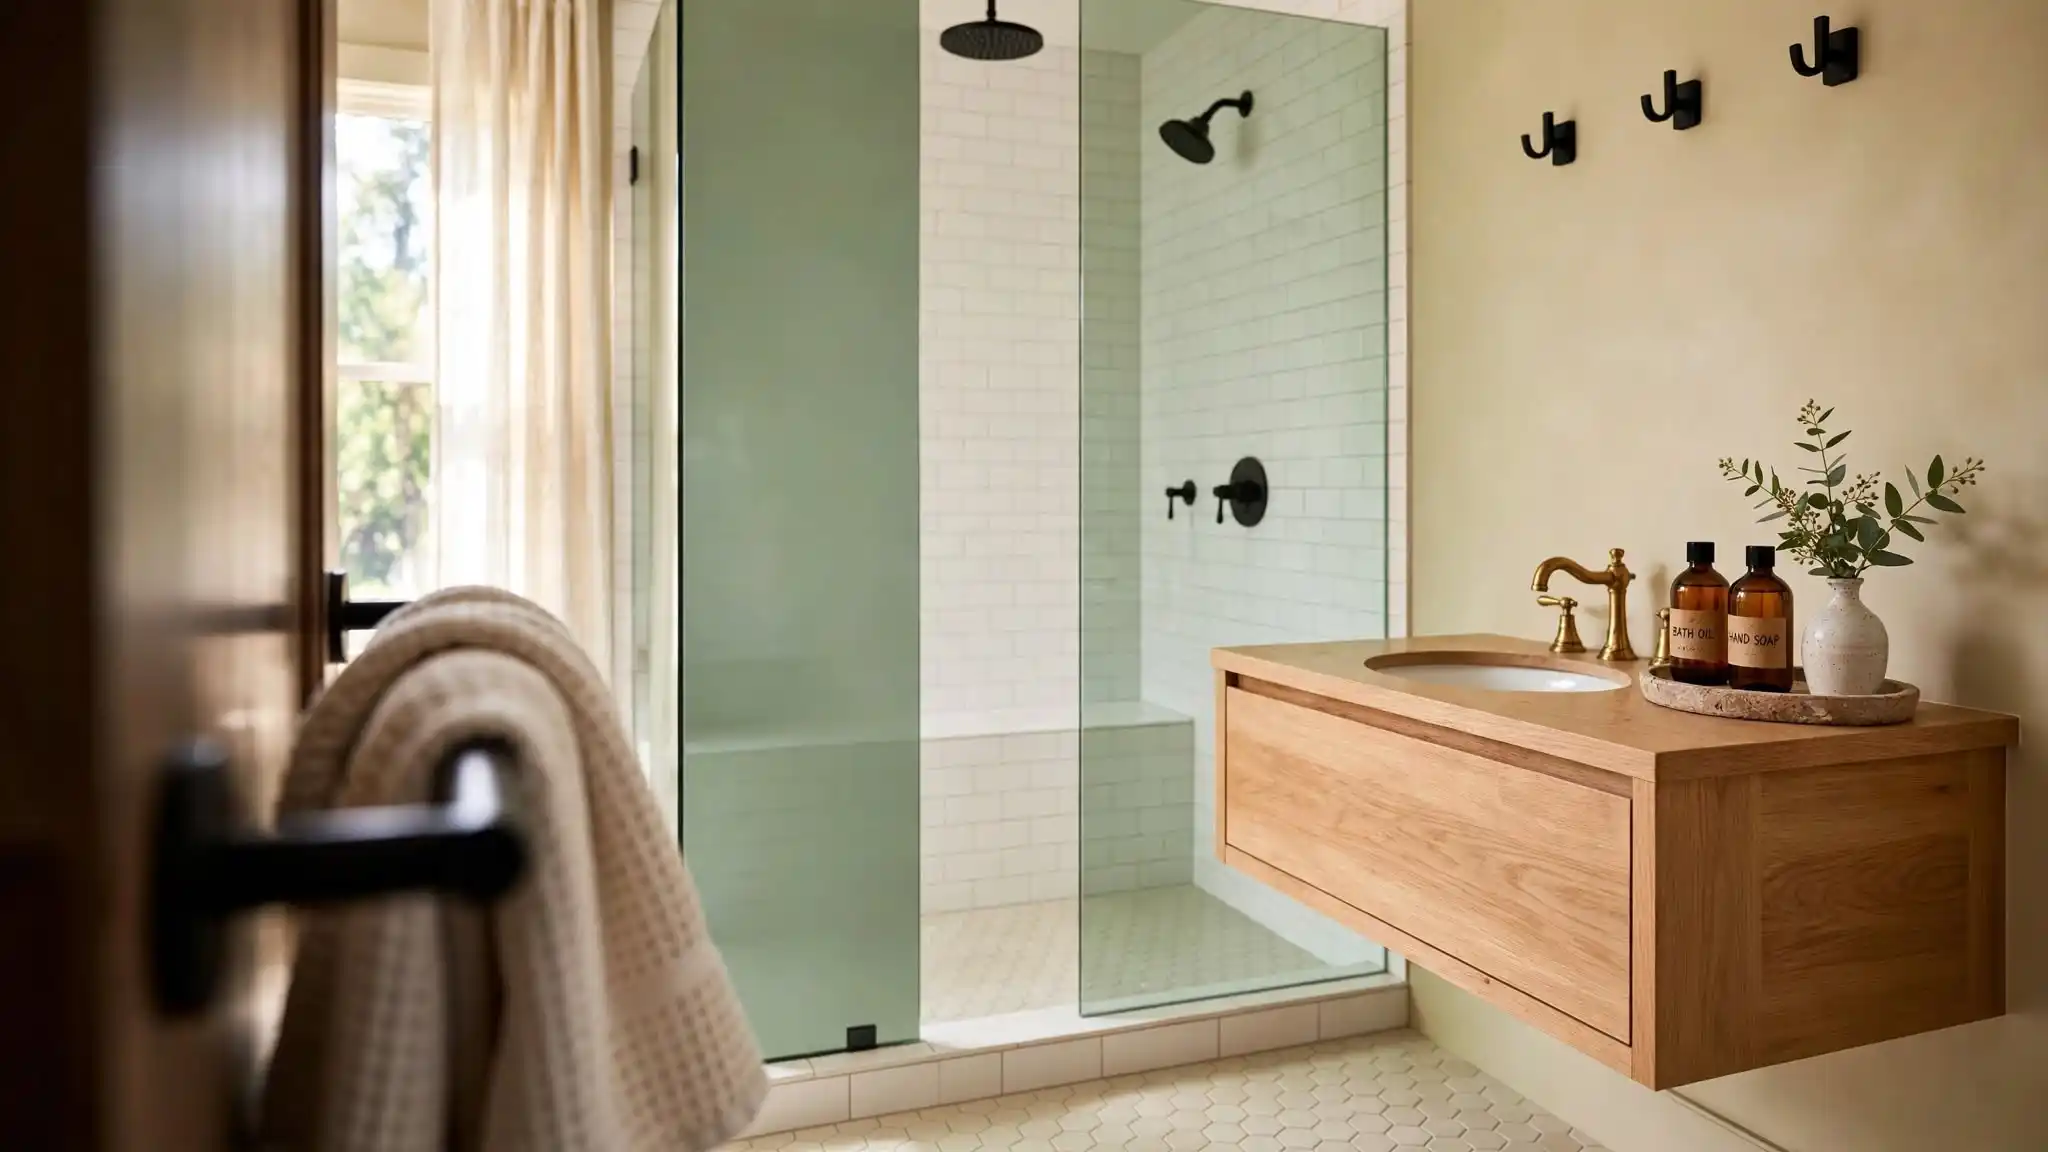
Let’s be honest — a quick wipe-down of the counter and a squirt of toilet bowl cleaner does not count as cleaning your bathroom. It counts as maintenance. There is a big difference.
A true deep clean gets into every grout line, behind every fixture, and underneath every bottle of shampoo that hasn’t moved since last winter. If you’ve been putting it off, today is the day.
This guide walks you through exactly how to deep clean bathroom spaces from ceiling to floor, without burning half a Saturday or buying a cartful of specialty products.
Why Deep Cleaning Your Bathroom Actually Matters

Bathrooms are warm, humid, and used multiple times a day by everyone in the house.
That combination creates a perfect environment for mold, mildew, soap scum, and bacteria — most of which are invisible until they’ve been building up for weeks.
A surface that looks clean can still harbor grime in the grout, mineral deposits around faucets, and dust collecting on light fixtures and exhaust fans.
Deep cleaning isn’t about being obsessive. It’s about resetting the space so your regular maintenance actually works.
Most experts recommend a thorough deep clean every one to three months, depending on how many people use the bathroom.
If you have a busy household, lean toward monthly. For a guest bathroom that rarely sees use, quarterly is fine.
What You’ll Need Before You Start

Gather your supplies before you touch a single surface. There’s nothing worse than getting halfway through a deep clean and realizing you’re out of scrubbing pads.
Supplies list:
- All-purpose bathroom cleaner or DIY white vinegar solution
- Baking soda
- Grout brush or old toothbrush
- Microfiber cloths (several)
- Scrubbing sponge
- Toilet brush
- Mop or steam cleaner for floors
- Rubber gloves
- Spray bottle
- Glass cleaner
If you prefer to go non-toxic, a 1:1 mix of white vinegar and water handles most bathroom surfaces beautifully. Add a few drops of tea tree oil for natural antimicrobial power.
Step 1: Clear and Declutter First
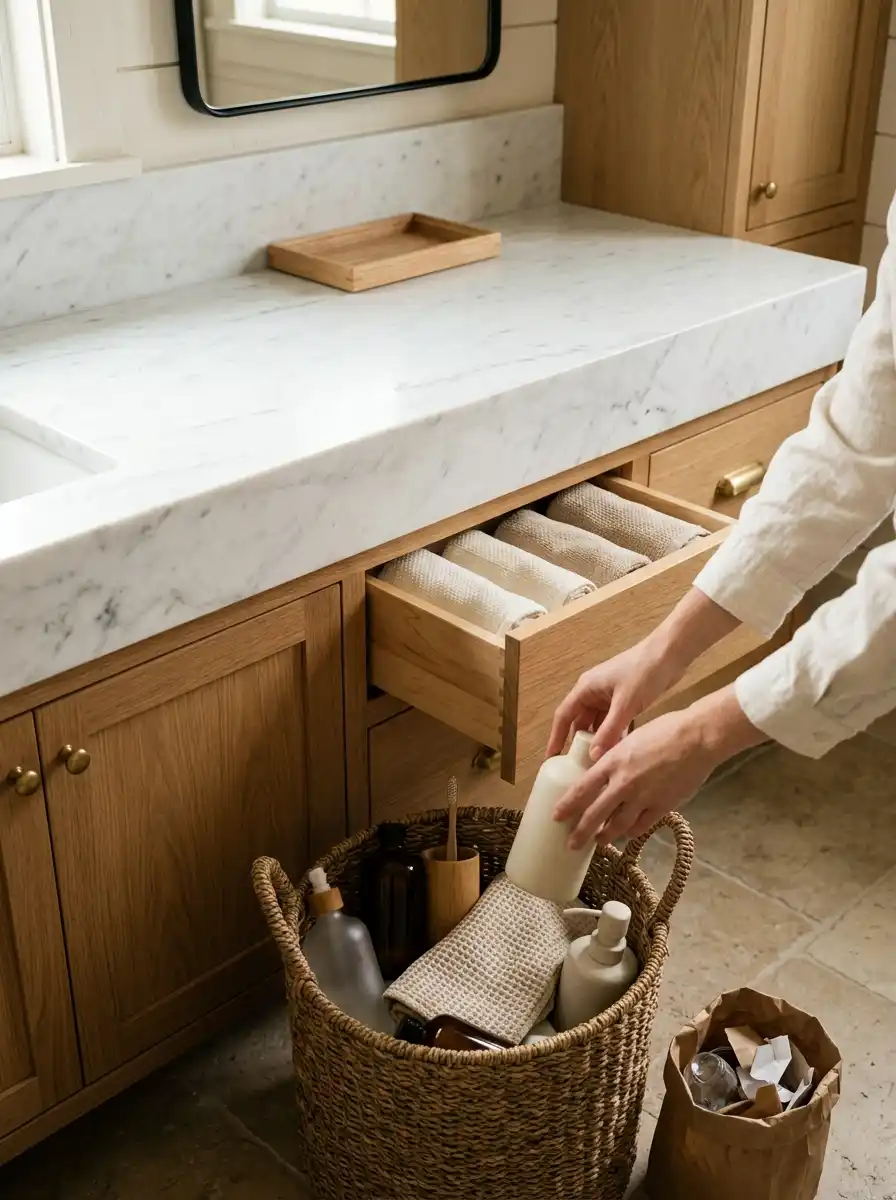
Before any product touches any surface, remove everything from the bathroom. Take items off the counter, out of the shower caddy, off window sills, and from the top of the toilet tank.
This is also a good moment to toss expired products, nearly-empty bottles that have been lingering for months, and anything you genuinely haven’t used in the past year.
Clearing the space gives you full access to surfaces and makes the cleaning dramatically faster and more thorough.
It also means you won’t accidentally clean around clutter, which just leaves hidden buildup in the corners you couldn’t reach.
Step 2: Start at the Top and Work Down

Always clean from top to bottom — this is the rule that professional cleaners swear by, and it works. Start with the exhaust fan.
Use a vacuum attachment or a dry cloth to remove dust from the vent cover. If it’s removable, take it off and wash it in warm soapy water.
Next, wipe down light fixtures, the tops of door frames, and any shelving. Dust and hair accumulate in these areas and fall down as you clean, which is exactly why you save the floors for last.
Step 3: Tackle the Shower and Tub

This is usually the most labor-intensive part of how to deep clean bathroom spaces, and for good reason. Soap scum, hard water deposits, and mildew can build up significantly between deep cleans.
Spray your shower walls, door, and tub generously with your cleaner of choice and let it sit for at least five to ten minutes. This dwell time is crucial — it breaks down buildup so you’re not scrubbing raw muscle into tile.
While that soaks, sprinkle baking soda directly on stubborn soap scum or hard water stains and use a damp scrubbing sponge in circular motions. For grout lines, a stiff grout brush makes an enormous difference. Work in small sections and rinse as you go.
For glass shower doors, a paste of baking soda and dish soap applied with a sponge cuts through mineral deposits and leaves the glass streak-free. Rinse thoroughly and follow with glass cleaner for a polished finish.
Don’t overlook the showerhead. Mineral buildup reduces water pressure and harbors bacteria. Fill a plastic bag with white vinegar, secure it around the showerhead with a rubber band, and let it soak for 30 minutes to an hour. Wipe clean and run hot water through it after.
Step 4: Clean the Toilet Thoroughly

Most people clean the inside of the toilet bowl but neglect everything else. For a true deep clean, you need to address the entire fixture.
Apply your toilet bowl cleaner inside the bowl and let it sit. While it works, spray and wipe the outside of the toilet — lid, seat (top and bottom), the base, and behind the toilet where dust and hair collect relentlessly. Use a separate cloth from what you’re using on other surfaces.
Scrub the bowl with your toilet brush, paying attention to under the rim where bacteria love to hide.
If you have stubborn mineral stains, a pumice stone specifically made for porcelain is remarkably effective and won’t scratch the surface.
Step 5: Sink, Faucet, and Vanity
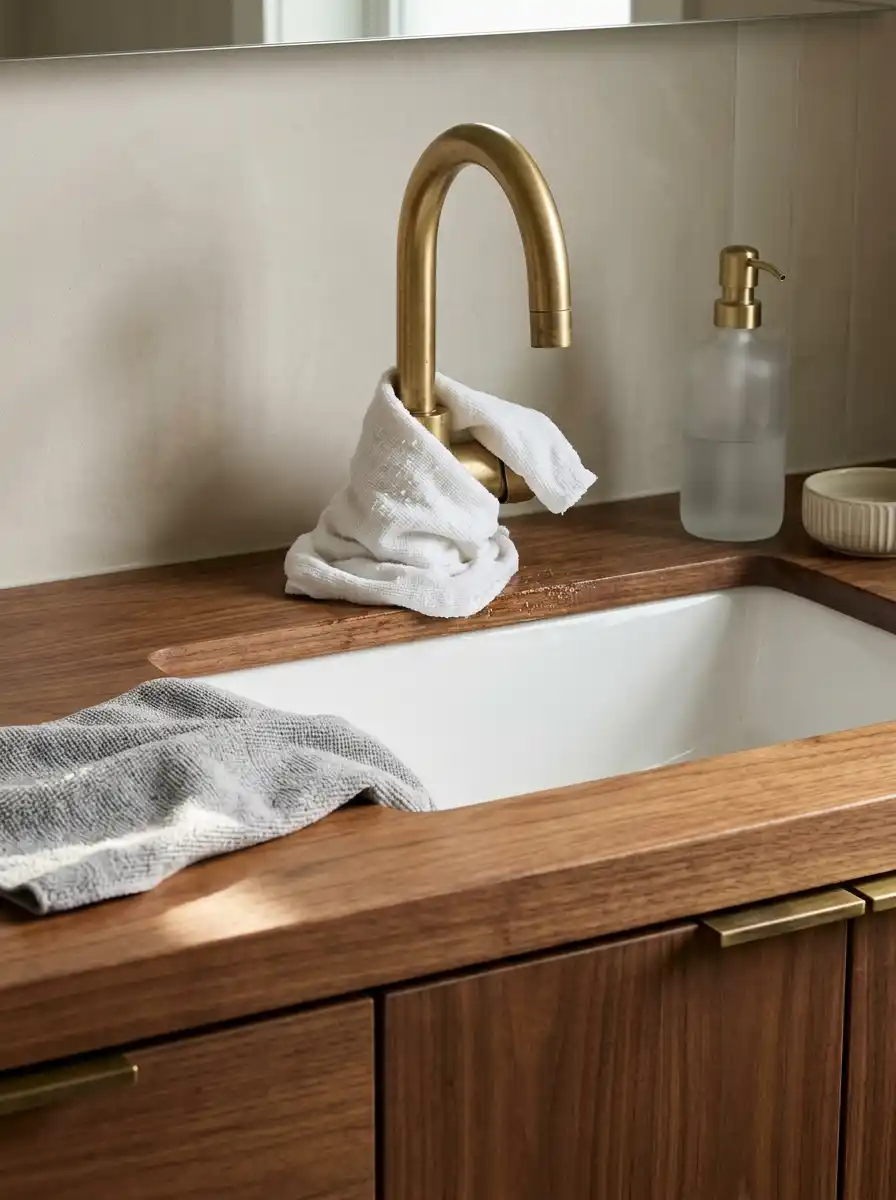
Spray the sink basin and faucet hardware with your cleaner. For mineral buildup around the base of the faucet, a cloth soaked in white vinegar laid directly on the area for fifteen minutes works better than scrubbing.
Dry the faucet with a microfiber cloth to prevent new water spots from forming immediately.
Wipe down the vanity countertop and cabinet fronts. If you have open shelving, clean the shelves and the undersides of anything stored on them.
Step 6: Mirrors and Fixtures

Spray glass cleaner directly onto a microfiber cloth (not the mirror) and wipe in an S-pattern from top to bottom. This prevents streaks and gives you a clear, clean finish.
Step 7: Floors Last

Sweep or vacuum first to remove hair and dust. Then mop using a bathroom-appropriate floor cleaner, paying extra attention to corners, along baseboards, and around the base of the toilet.
If you have tile, scrub the grout lines with a brush and grout cleaner. Rinse and allow the floor to dry fully before replacing rugs and accessories.
Final Touches That Make a Difference
Once everything is clean, replace items intentionally. Wipe down product bottles before putting them back. Fold fresh towels neatly.
Add a new toilet paper roll. Light a candle or add a small plant if you have a window. These small finishing details are what separate a clean bathroom from a beautiful one.
Deep cleaning a bathroom is satisfying work when you do it right. The whole process takes two to three hours for most bathrooms — not a small investment, but one that pays off every single day in a space that looks and feels genuinely clean.
