
How to Organize a Small Kitchen So Everything Has a Place

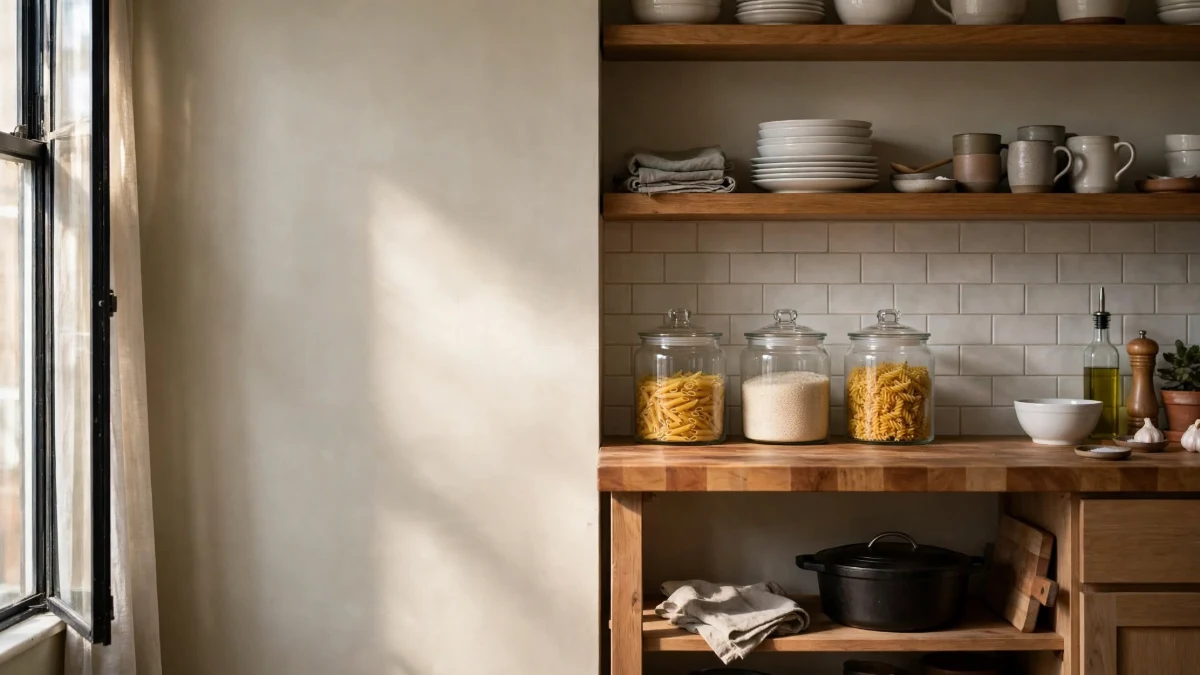
I once spent $90 on drawer organizers before I had emptied a single cabinet. Half of them did not fit, and the other half held things I never use.
That mistake is why this guide on how to organize a small kitchen starts with what you already own. You will sort first, measure second, and try household stuff before you buy anything. Any money you do spend goes only where a real problem is left.
Your kitchen will look worse before it looks better, and that is normal. Nothing here needs a special tool or a big budget. Plan on one weekend, or 3 evenings of about 90 minutes each.
Kitchen reset plan
How to Organize a Small Kitchen Without Buying Anything First
5 steps to give everything a place.
- Step 1
Clear the counters first
Move everything off the counters and set out 3 boxes for keep, donate, and relocate. Do not put things back “for now.”
- Step 2
Cut the extras
Toss or relocate anything used fewer than 3 times in the past 12 months. Every item has to earn its space.
- Step 3
Build 4 zones
Group by use: cooking, coffee, prep, and cleanup. Keep each zone within about 3 feet of where you stand.
- Step 4
Measure before you buy
Write down width, depth, and height, then subtract 1 inch. Try a shoebox or jar for $0 first.
- Step 5
Reset for 5 minutes each night
Clear the counter, empty the dish rack, and return strays from a basket. A 5-minute habit keeps it all in place.
Start with one cabinet tonight.
What You’ll Need
You probably own all of this already.
- 3 boxes or laundry baskets for keep, donate, and relocate
- A clean towel or old bath mat to spread items on
- A tape measure and a small notepad
- A damp cloth and all-purpose cleaner
- Shoeboxes, jars, and spare baskets for later steps
Clear the Counters First

Every item on your counters is a clue about where it should live. Carry it all to the dining table or a clear patch of floor, then wipe the bare butcher-block top with a damp cloth. (Laminate works the same way.)
Set out 3 boxes for keep, donate, and relocate, with a dish towel nearby for spills. The common slip here is putting a few things back “for now.” Those few items are what clutter the counter again by Friday.
Empty One Cabinet at a Time So the Mess Stays Small

It is 7 p.m., every cabinet door hangs open, and you are tired. That is how most people quit halfway.
Choose the worst cabinet, pull out everything, and spread the pots and lids on a folded towel. Wipe the shelf with a damp sponge and let it dry for 5 minutes. Open the next cabinet only after this one is sorted and closed.
Toss or Relocate Anything You Used Fewer Than 3 Times This Year
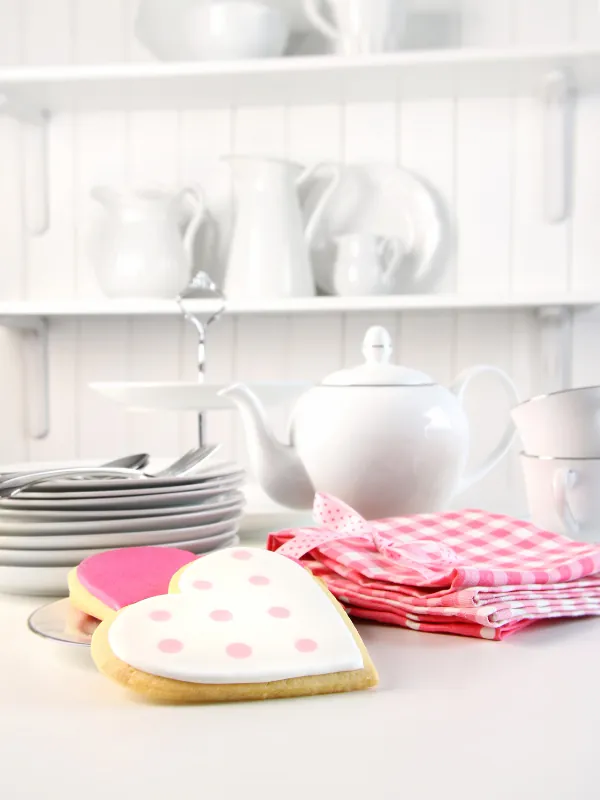
Fewer than 3 uses in the past 12 months is a fair cutoff for a small kitchen, since every item pays rent in space. Hold each piece up and check it against this list:
- A third spatula or a second peeler
- Mismatched mugs you never pick
- A bread maker or other gadget used once
- Lids without a matching container
- Anything cracked, rusted, or missing a part
Big items you use rarely, like a turkey roaster for Thanksgiving, can move to a hall closet. Watch the “maybe someday” pile, because it grows fast.
Organize a Small Kitchen by Zones, Not by Cabinet
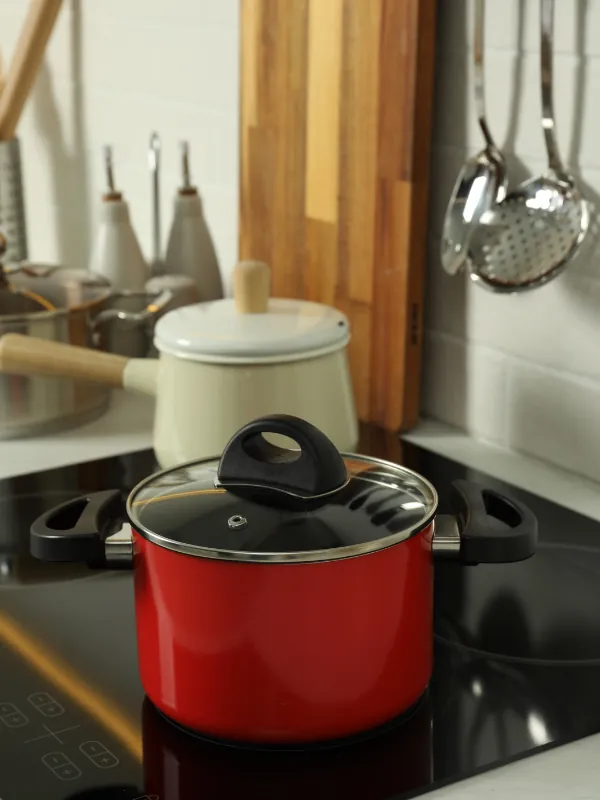
Matching things together feels tidy. All the cups go in one cabinet and all the baking pans in another. In a small kitchen, though, that sends you across the room to make a cup of coffee.
Store things where you use them instead. Aim for 4 zones: cooking, coffee, prep, and cleanup. Oils, salt, and a utensil crock go beside the stove, and mugs go in the cabinet above the coffee maker. The common failure is splitting one zone across two sides of the room, so keep each within about 3 feet of where you stand.
Measure Every Shelf and Drawer Before You Buy Anything

A bin that is half an inch too wide will not go through the cabinet opening, however well it fits the shelf. Hold the tape measure at the back corner of each empty shelf and drawer, and write width, depth, and height on your notepad.
Measure the door opening and drawer front too, since they are often narrower than the space behind them. Then subtract 1 inch from each width and depth so a bin can slide in and out.
Typical sizes are a starting point, and your own numbers always win.
| Space | Typical size | What fits well |
|---|---|---|
| Upper cabinet shelf | About 12 inches deep | Dinner plates, bowls, and mugs |
| Base cabinet | About 23 inches deep | Nested pots and a pull-out bin |
| Shallow drawer | About 2 to 3 inches tall | Flat utensils with a divider tray |
| Deep drawer | About 8 to 10 inches tall | Mixing bowls, pans, and lids |
| Under the sink | Often 16 to 20 inches tall, with pipes | Two stacked bins or a tension rod |
Try Household Fixes First, Then Spend Only Where It Still Hurts

Do you need a $25 drawer tray? A shoebox lid often does the same job for $0. Mason jars make clear bins for pasta and rice, and a tension rod under the sink holds spray bottles by their triggers.
A rod set too loose is where this goes wrong. Twist it until it grips, then press down with a hand before you load it.
Buy only what still bothers you after a week, using the table below to compare the options.
| Problem | $0 fix | Under $10 | Under $25 |
|---|---|---|---|
| Crowded utensil drawer | Shoebox lid | $6 plastic tray | $22 bamboo organizer |
| Loose pan lids | Cereal box cut into a file | $9 lid rack | $24 pan and lid rack |
| Cluttered spices | Shoebox on its side | $9 tiered riser | $20 two-tier turntable |
| Under-sink pile | Plastic tub and a tension rod you own | $7 new tension rod | $25 stackable bin set |
Store Heavy Pots Low and Daily Dishes at Arm Height

Do this: Put cast iron and stock pots in the base cabinet, nested with a paper towel between each one. Keep white plates and bowls on the shelf at 30 to 55 inches off the floor.
Not that: A stack of 6 pans on a high shelf. They slide, scrape, and fall the moment you pull one out.
Hang What You Can on Walls and Doors

If your cabinets are already full, empty wall space is free storage. Try these spots:
- An over-the-door rack for foil, plastic wrap, and bags
- A wall rail with hooks for utensils and mugs
- A magnetic strip for knives and metal spice tins
Check the gap between the door and the shelf first, because a rack 1.5 inches deep can stop the door from closing.
Run a 5-Minute Reset Each Night So It Stays Put

A tidy kitchen is mostly a habit. After dinner, set a timer for 5 minutes, clear the counter, empty the dish rack, and put strays back from a small basket by the sink.
If the same item lands in that basket night after night, it has no home. Give it a spot or let it go.
This table shows what to reset and how often.
| How often | What to reset | Time |
|---|---|---|
| Nightly | Clear counters, empty the dish rack, empty the basket | 5 minutes |
| Weekly | Wipe the shelves you opened, line up the front row in each zone | 15 minutes |
| Monthly | Check the donate box, toss expired pantry items | 30 minutes |
| Every 3 months | Ask if any zone feels wrong, then move one item | 20 minutes |
You Already Own Most of the Fix
Most of the work here was sorting and measuring, and neither costs a dollar. That is why this plan holds up on a tight budget.
Start tonight with the one cabinet you dislike most. Save this pin to your kitchen board so the steps are on your phone when the boxes come out.
Questions About How to Organize a Small Kitchen
Can I organize a small kitchen in one day?
Yes, if you have about 10 cabinets and drawers or fewer. Plan for 6 to 8 hours with breaks, or split the work over 2 or 3 evenings.
How much should I spend on storage?
Start at $0. Most small kitchens need only $10 to $30 after sorting, for one or two problem spots.
What if I have almost no cabinet space?
Use walls, cabinet doors, and the top of the fridge for daily items. Move rarely used pieces to a hall closet.
Should I keep small appliances on the counter?
Only the one you use every day, like a coffee maker. Store the rest in a cabinet or closet.
What’s the difference between zones and categories?
Zones group things by where you use them, and categories group them by type. Zones usually win in a small kitchen because they cut down on walking.


