
Tiny House Plumbing Off Grid: A Simple Setup Guide for Beginners

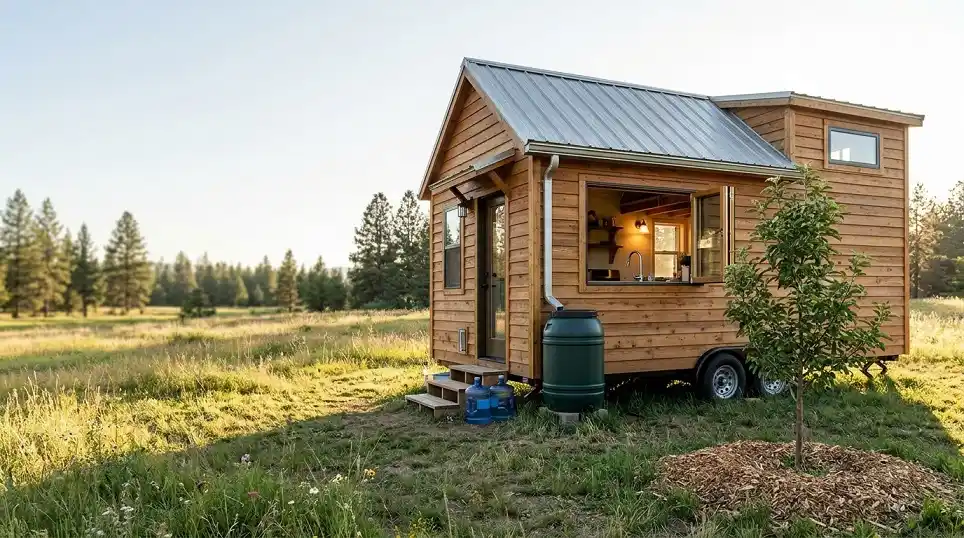
82 gallons. That is how much water the average American uses at home each day. Most people living in an off-grid tiny house get by on 10 to 15. That gap is the best news you will hear today about tiny house plumbing off grid.
A small daily need means a small tank, a small pump, small pipes and a small drain. You don’t need a well, a city line or a septic tank.
By the end of this guide, you will have a full working system. That means a freshwater tank and a 12-volt pump that gives real pressure at the tap.
You’ll have hot water from propane, a greywater drain that feeds your garden, and a toilet that uses no water at all. You will also know how to empty the whole thing before winter so nothing cracks.
This method follows the water in order, from the moment it comes in to the moment it goes out. Each step builds on the one before it, so you always know where you are and what comes next.
Plan on two or three weekends of hands-on work. One step asks you to wait a full day while the pipes hold pressure. That wait is what keeps your floor dry for years.
Your Off-Grid Plumbing Parts List
Grouped in the order you’ll use them, so you can shop one stage at a time.
Tank and Fill
- Freshwater tank, 40–100 gallons, marked NSF-61
- 2 metal tank straps + screws
- Rubber stall mat or old yoga mat
- Lockable gravity fill inlet
- Drinking-water hose (NSF-61, lead-free)
- Vent tube and fitting for the tank top
Pump Board
- ½-inch plywood, about 24 × 30 inches
- Inline strainer
- 12V diaphragm pump, about 3 gallons per minute
- Check valve
- Accumulator tank, 1–2 liters
- Sediment + carbon filter housing
- Inline fuse and switch (size from your pump’s manual)
Supply Lines
- ½-inch PEX in red (hot) and blue (cold)
- PEX crimp or cinch tool + rings
- ½-inch quarter-turn shutoff valves, one per fixture
- Low-point drain valve
- Pressure gauge with a hose-thread fitting
Hot Water and Drains
- Propane tankless water heater + vent kit
- Carbon monoxide detector
- 1½–2-inch ABS or PVC drain pipe
- P-trap for each sink and the shower
- Air admittance valve
- Mulch basin supplies (shovel, wood chips, outlet cap)
Toilet and Winter
- Urine-diverting composting toilet
- Self-regulating heat tape
- Foam pipe insulation
Tools
- Tape measure and 2-foot level
- Drill with hole saw bits
- PEX cutter
- Thread seal tape
- Notebook or phone notes app
The Water Path in 10 Lines
- Track your water use for 3 days
- Place the tank low, level and in the warm zone
- Add a fill inlet for hauled water or rain
- Mount the pump parts on one plywood board
- Run red and blue PEX with shutoffs
- Install and vent the propane heater outdoors
- Slope the greywater drain to a mulch basin
- Hold pressure for 24 hours and check for drips
- Set up a composting toilet instead of a black tank
- Empty the low point and insulate before frost
Count every gallon you use for 3 days before buying a tank
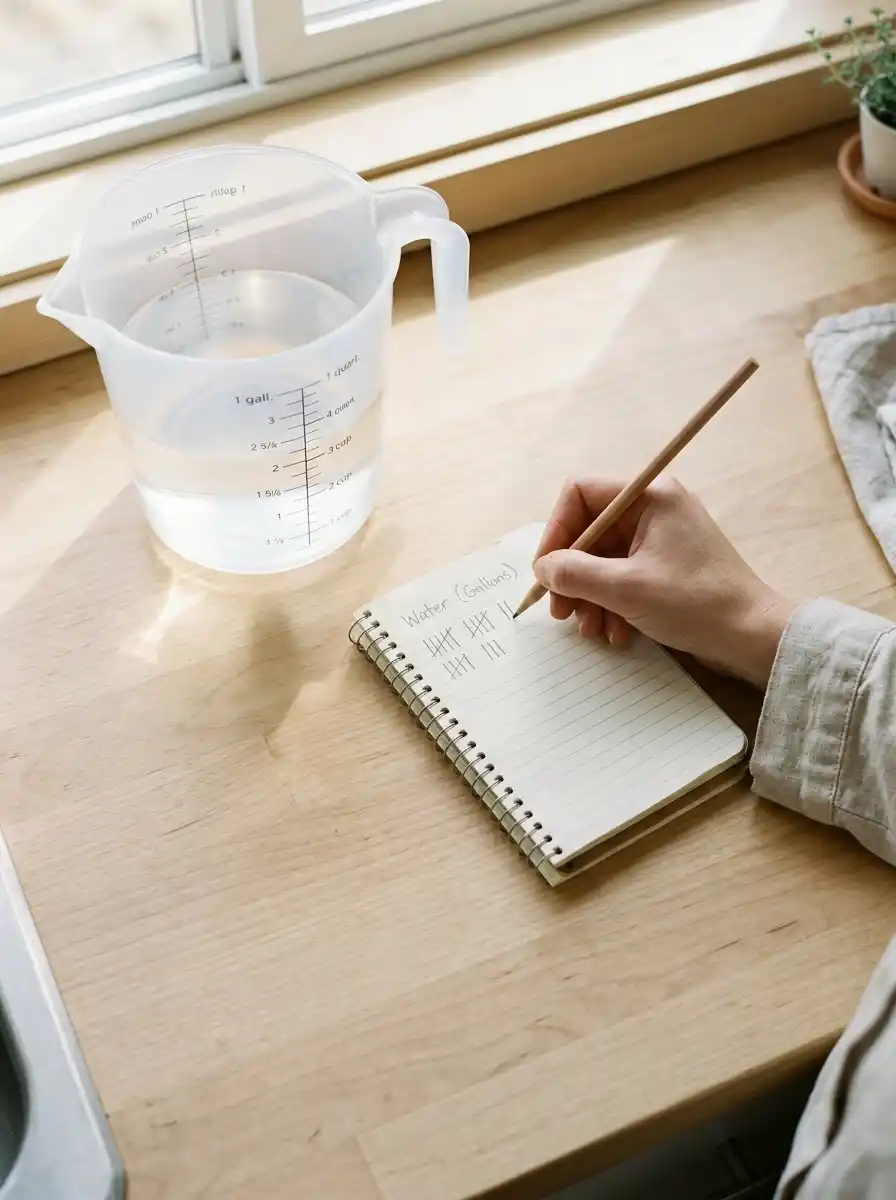
A tank-size chart online can’t see your habits. Your daily routine sets the tank size, not the size of your house.
Log every use of water for 3 days, on paper or in your phone. These rough numbers help:
- 4-minute shower with a low-flow head: 5–6 gallons
- Dishes washed in a tub: 2–3 gallons
- Drinking and cooking: 1 gallon per person
- Teeth, hands and face: ½ gallon per person
Add the three days together and divide by three. That is your daily number.
Multiply it by the days between refills, then add 20% as a cushion for hot days and guests. A couple using 16 gallons a day who refill every 4 days needs about 80 gallons of storage.
On a trailer, weight matters too. Water weighs about 8.3 pounds per gallon, so that full 80-gallon tank adds roughly 665 pounds. If the number scares you, shorten the time between refills instead of skipping showers.
Set the freshwater tank low, level and inside the heated floor space
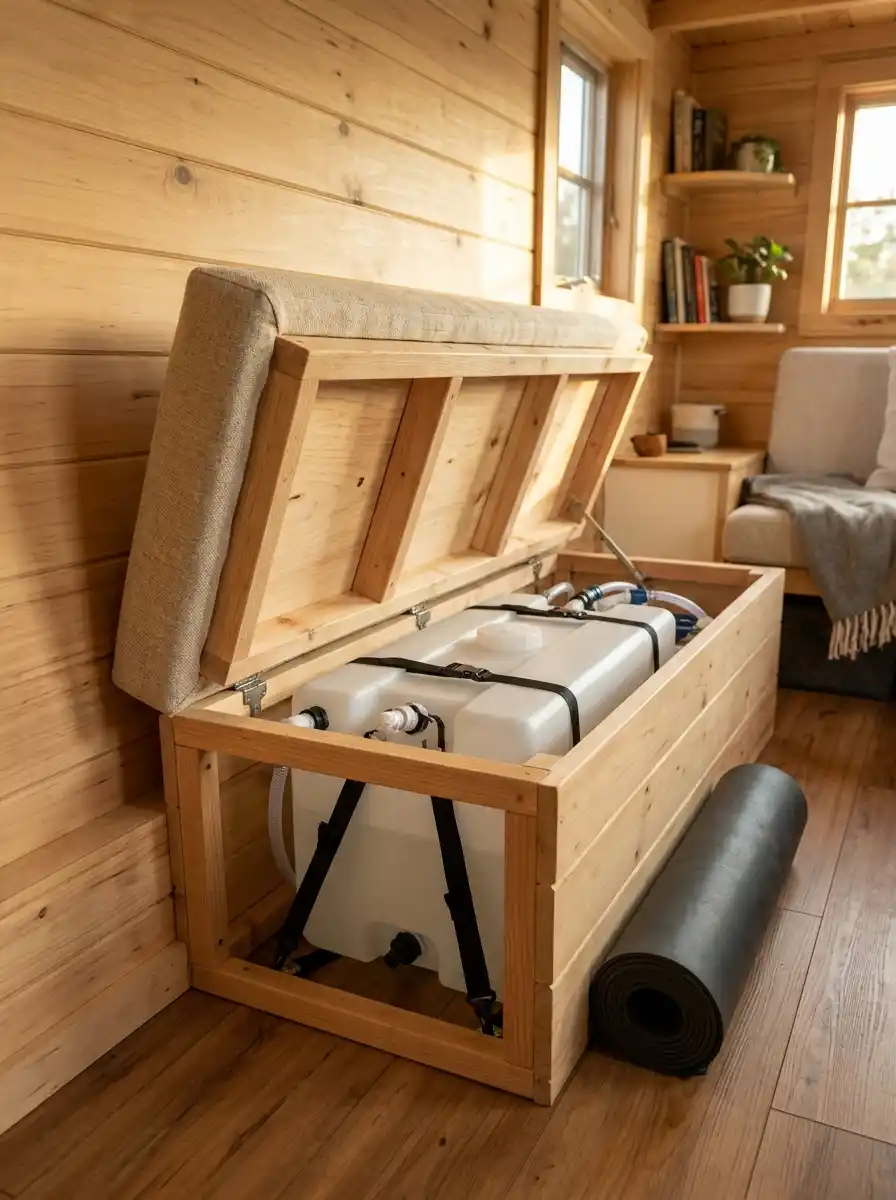
Cold is the biggest threat to an off-grid tank. Water in a heated room stays liquid on nights when an outdoor tank would freeze and split.
Look for space under a bench, a bed platform or the kitchen base cabinets. Down low, a heavy tank keeps the house steady on the road and feeds the pump with less strain. On a trailer, center it over the axles, never at the back end where it can cause sway.
Check it with a level. A tilted tank leaves water in one corner the pump can’t reach. Hold it with two metal straps screwed into the floor framing, since a full tank shifts in a hard stop.
Buy a tank marked NSF-61 or food-grade so it is safe for drinking water.
Quiet the Slosh
Lay a piece of rubber stall mat or an old yoga mat under the tank before you strap it. It stops the plastic from rubbing thin on bumpy roads and cuts down the noise of moving water at night.
Route the fill inlet — roof rainwater line or a hauled-water hatch
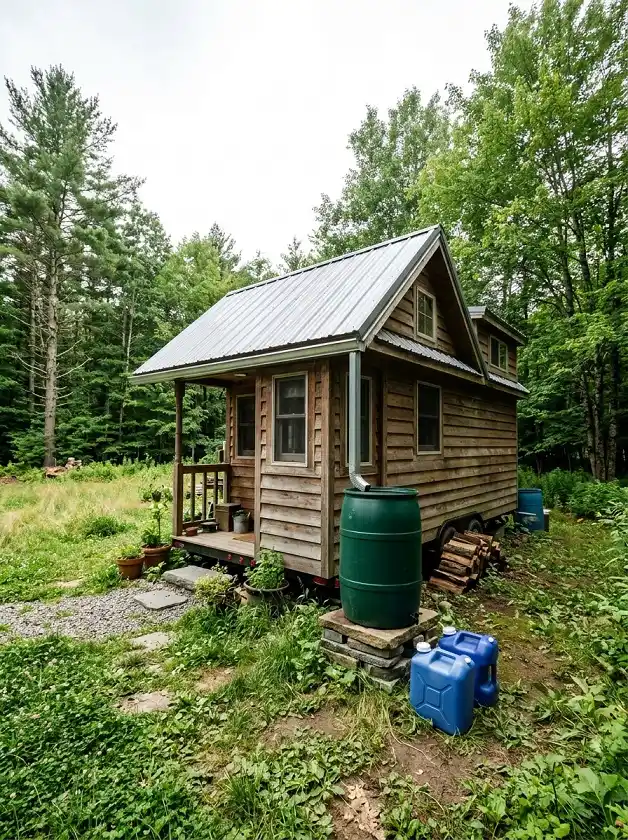
Where you live decides this step. Steady rain all year makes catchment worth the extra parts. Dry places or long, hard freezes point toward hauled water. Many owners use both.
If you haul water: Mount a lockable RV-style gravity fill inlet on an outside wall, higher than the top of the tank. Run a hose from the inlet down into the tank so gravity does the filling. Use jugs or a drinking-water hose marked NSF-61 and lead-free. A green garden hose can leach chemicals into what you drink.
If you catch rain: Each inch of rain on 100 square feet of roof gives about 62 gallons. A metal roof works best, because shingles shed grit and oils. Send the gutter through a first-flush diverter, which dumps the dirtiest first few gallons, then into a screened barrel. A small transfer pump moves it indoors. Drain that outdoor barrel before freezing weather.
Either way, add a vent tube at the top of the tank so air can get in as water goes out. Without it, the pump strains against a vacuum.
Rainwater Is Not Drinking Water Yet
Roof water carries bird droppings, dust and bacteria. Before you drink it, run it through a sediment filter plus a UV light rated for drinking water, or boil it for 1 minute. Until then, keep it for the garden.
Build the heart of your tiny house plumbing off grid on one plywood board
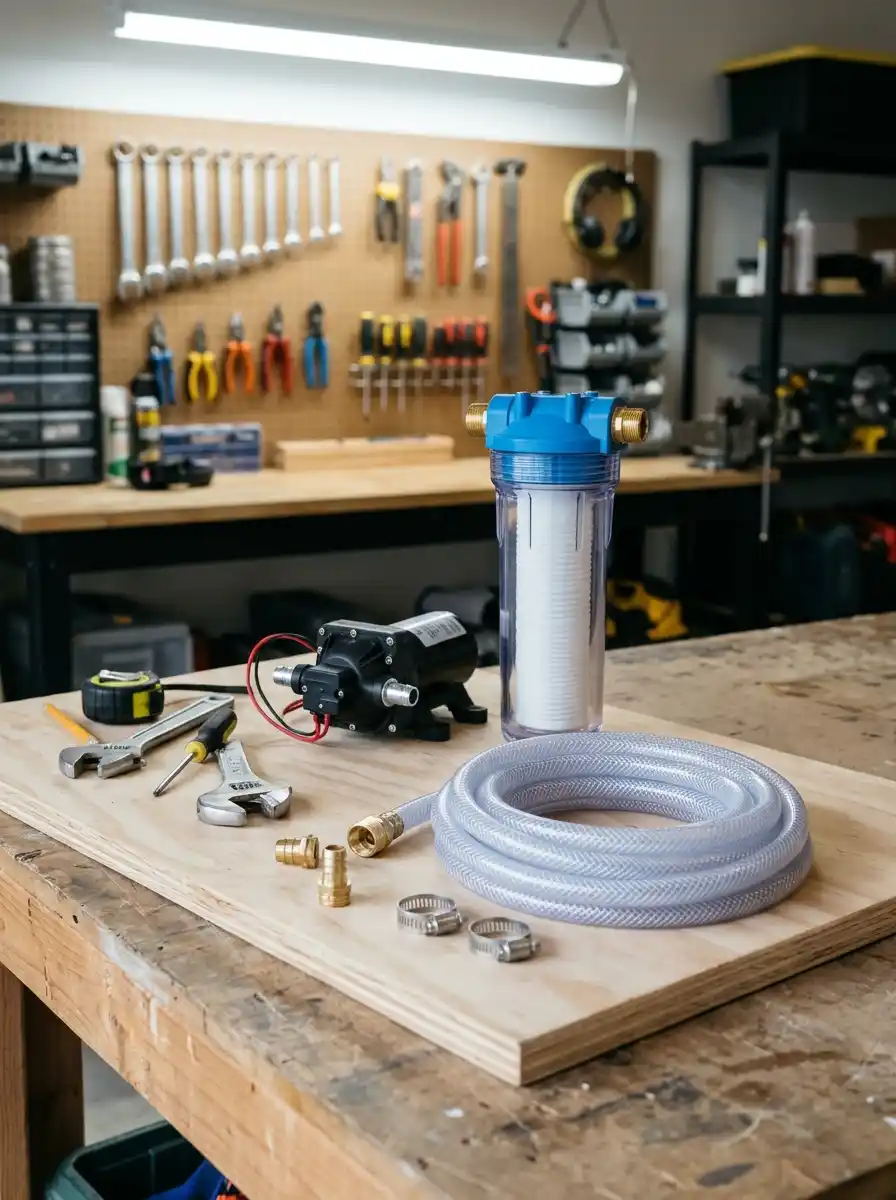
Five parts sit in a row on this board, and their order matters. Mount them left to right, in the direction water flows:
- Strainer: catches grit before it wears out the pump
- 12V pump: set it on its rubber feet to cut the hum
- Check valve: stops water from sliding back into the tank
- Accumulator: a small pressure tank that keeps the pump from kicking on for every sip
- Filter housing: sediment and carbon for cleaner taste
Join the parts with short pieces of braided flexible hose instead of rigid pipe. Flexible hose soaks up vibration, so you won’t hear the pump through the walls at night.
Screw the board to a wall inside a cabinet, within 3 feet of the tank. A shorter trip from tank to pump means faster priming. Wire the pump to your battery through the fuse and switch.
Before any water goes in, check the accumulator’s air pressure with a tire gauge. Set it 2 PSI below the pump’s turn-on pressure, which is listed in the pump manual.
Match the Arrows
The strainer, pump, check valve and filter each have a flow arrow stamped on them. Draw one big arrow across the plywood with a marker first, then line every part up with it. A backwards check valve means no water at any tap.
Run color-coded PEX with a shutoff valve at every fixture
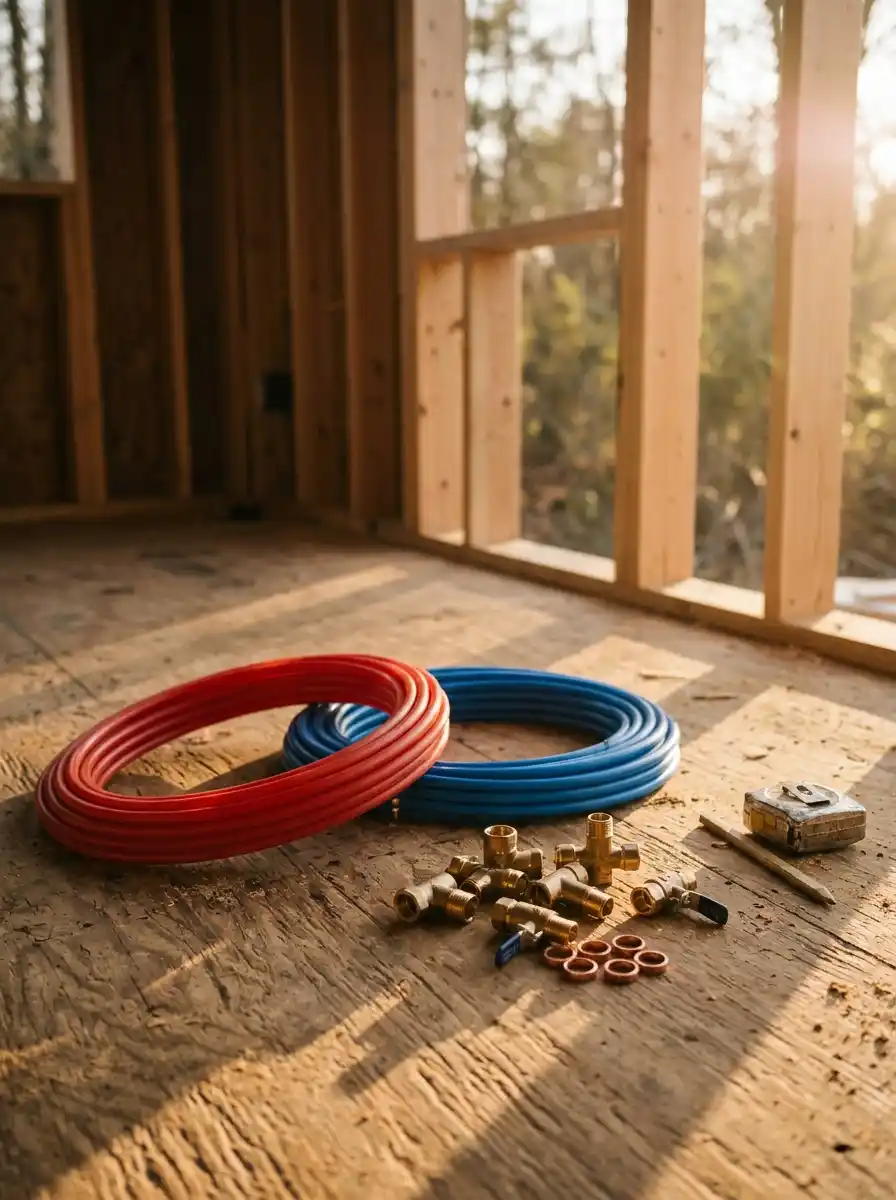
Red always carries hot water and blue always carries cold. Stick to that code and you will never have to guess which line to cut during a repair years from now.
½-inch PEX bends around corners, so you need far fewer fittings than with copper. Fewer fittings means fewer places to leak. Keep each bend gentle, about the curve of a coffee can. A kinked spot chokes the flow and has to be cut out.
For every joint, cut the pipe square, slide on a ring and push the fitting in all the way. Place the ring ⅛ to ¼ inch from the pipe end and crimp it. Then test it with the go/no-go gauge that came with the tool.
Put a quarter-turn shutoff under each sink and before the shower. If one faucet leaks, you can close that valve and keep using the rest of the house.
Run every line slightly downhill toward one spot, where the low-point drain valve will go. Clamp the pipe every 32 inches so it can’t rattle.
Vent the propane tankless heater straight through an outside wall
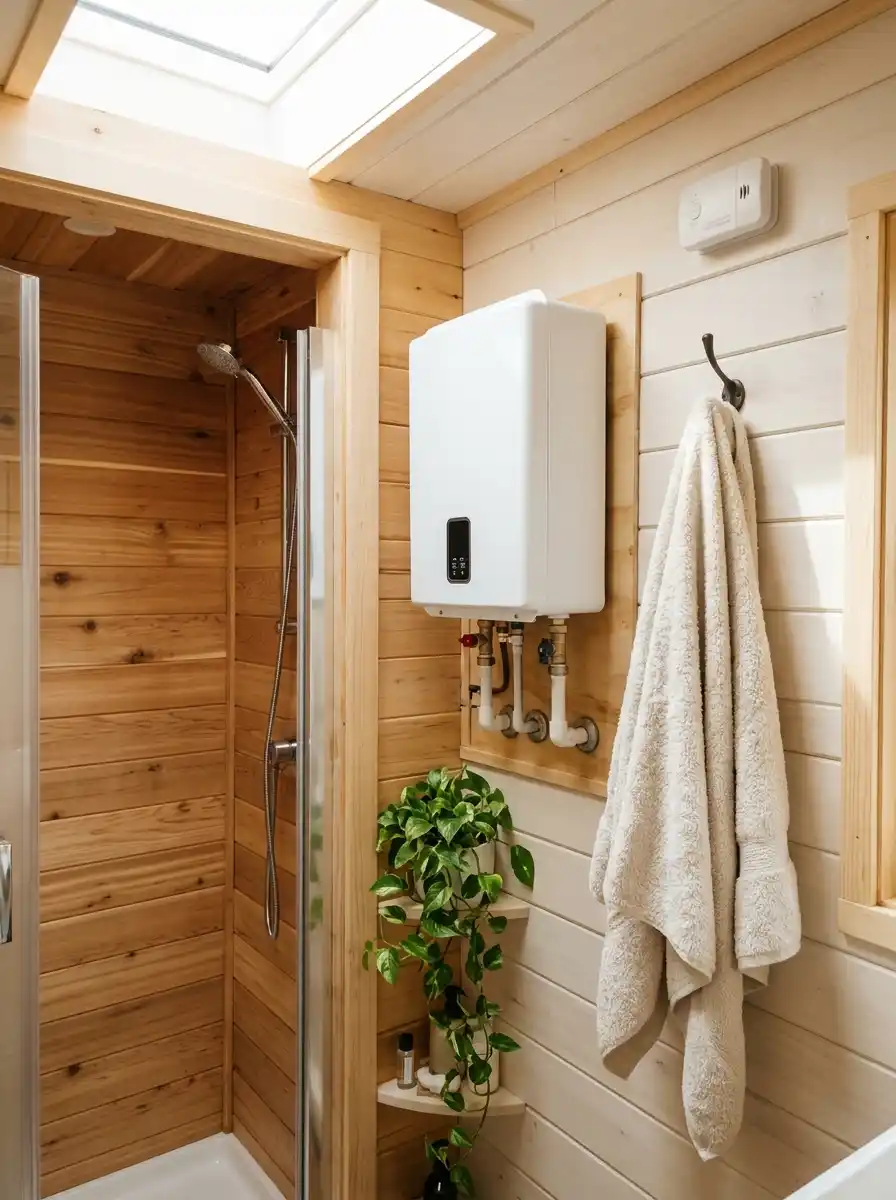
If a heater burns propane, it gives off carbon monoxide, a gas you can’t see or smell. That exhaust needs its own path outdoors.
Read the box first. Many low-cost portable heaters say “outdoor use only,” and those belong on the outside wall under a small cover, never indoors. Indoor models need a sealed vent kit through the wall, with the clearances listed in the manual.
Check the spec sheet for the activation flow. Choose a heater that fires at 0.5 gallons per minute or less, so a low-flow showerhead still turns it on.
Mount it as close to the shower as you can, since every foot of pipe in between is cold water you wait through. The blue line feeds the heater, and the red line starts at its outlet.
Have a licensed gas fitter connect the propane line.
Carbon Monoxide Alarm Before the First Hot Shower
Mount a battery carbon monoxide alarm near your sleeping area before the heater runs even once. After the gas line is connected, brush soapy water on every gas joint. Growing bubbles mean a leak: shut off the propane and call the fitter back.
Slope the greywater drain ¼ inch per foot toward an outdoor mulch basin
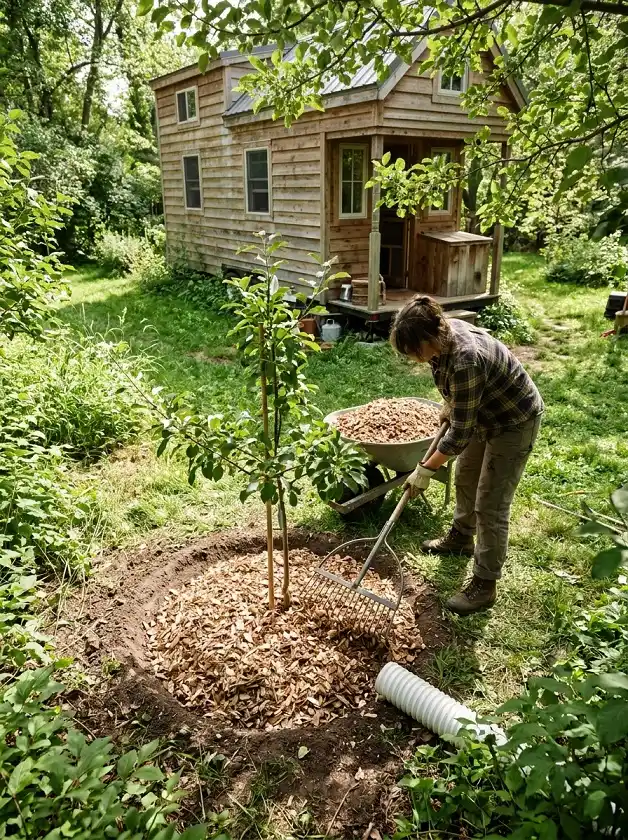
Where does shower water go with no sewer? Out to your plants, as long as it stays below the surface.
Every sink and the shower needs a P-trap under its drain. The water resting in that U-bend blocks sewer-type smells from rising back up. Add an air admittance valve, a one-way vent that lets air in so the traps don’t get sucked dry. Mount it upright, above the trap, where you can reach it.
Give the drain pipe a steady drop of ¼ inch per foot all the way out. Too flat lets food bits settle inside. Too steep lets water race ahead and leave them behind. To check, set a 2-foot level on the pipe and slip a ½-inch shim under its low end. The bubble should center.
Outside, dig a basin 12–18 inches deep near trees or shrubs and fill it with wood chips. End the pipe under the chips so water soaks in instead of pooling. Greywater rules differ by area, so check with your county or local council first.
Keep the Basin Plant-Friendly
Drop a fine mesh strainer into the kitchen sink and wipe greasy pans with a paper towel before washing. Pick soaps without boron, bleach or a lot of salt, so the plants around your basin stay healthy.
Pressure-test every joint for 24 hours before closing a single wall
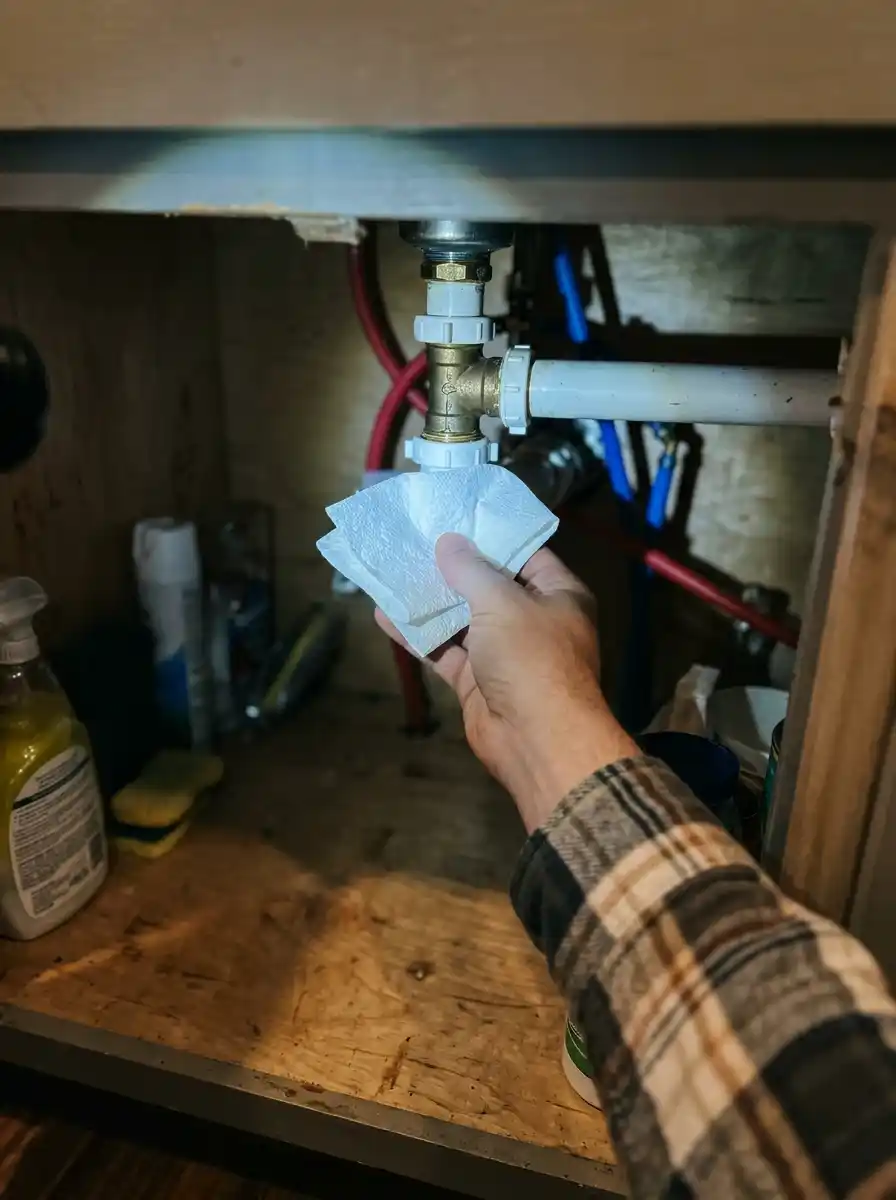
Most leaks don’t spray. They show up as a slow drop on a gauge, or as a damp spot a week after the wall is finished. Testing now costs one day. Missing a leak can cost you the floor.
- Tuck a dry paper towel under every supply joint
- Close every faucet and shutoff valve
- Screw the pressure gauge onto a hose-thread fitting (many low-point drain valves have one)
- Run the pump until it stops on its own, then switch it off
- Write down the reading and the time
Come back in 24 hours. A drop of 2–3 PSI can come from a change in temperature. Anything more means water is escaping somewhere. Look for a spotted paper towel first, then redo or replace that fitting.
Check the drains as well. Fill each sink and the shower pan, pull the plug, and run a flashlight along every drain joint while the water flows.
Skip the black tank entirely with a urine-diverting composting toilet
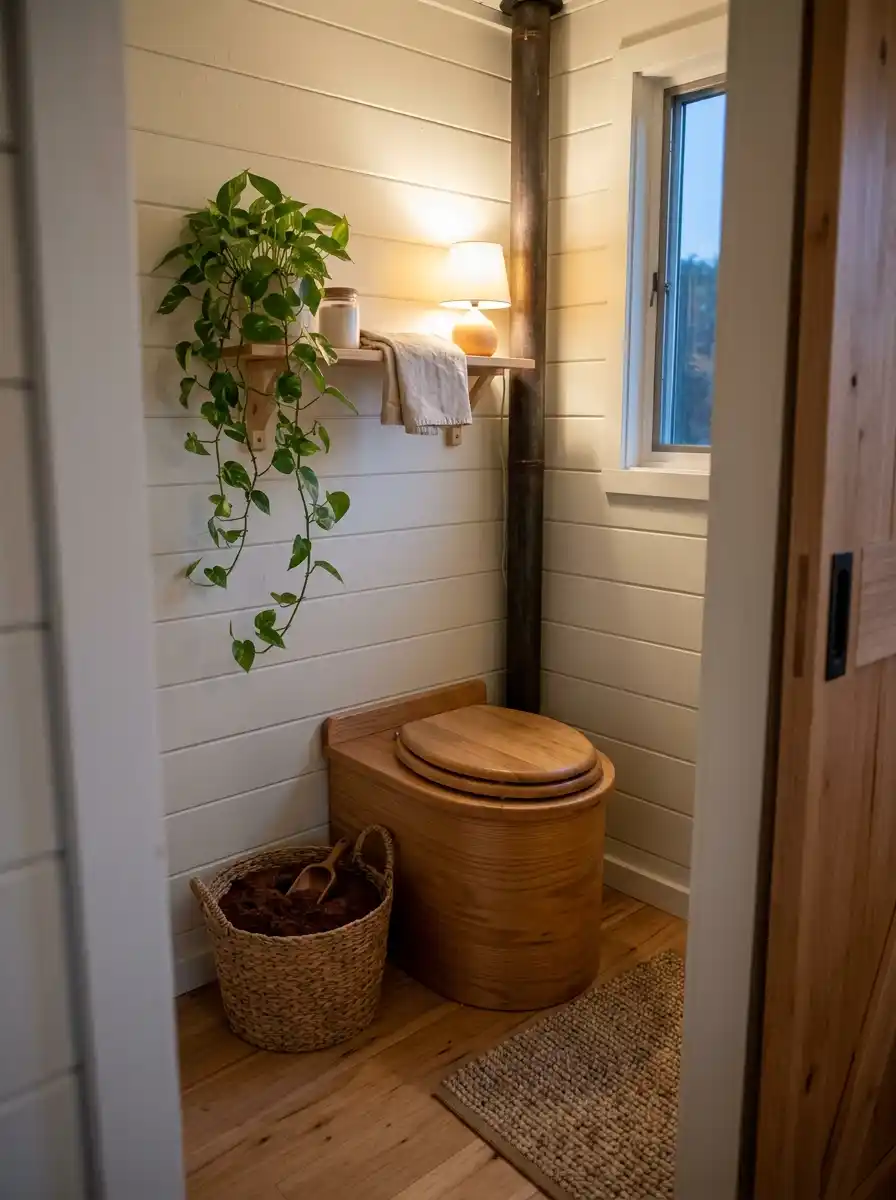
A black tank is the hardest part of off-grid plumbing. It means dump stations, hoses and chemicals. A urine-diverting composting toilet removes all of that, because it never connects to a pipe.
This toilet keeps liquids and solids apart, which is what stops the smell. Solids go into a bin with a scoop of coco coir or peat moss after each use. Two full-time users usually empty the liquid bottle every 2–3 days and the solids bin every 3–4 weeks.
Bolt it to a flat spot on the floor. Run its small 12V fan and vent hose to the outside, and leave that fan on day and night. It draws about 1–2 watts and keeps the bin dry and odor-free.
Check local rules on where finished compost and diluted urine can go.
Drain the low point and wrap exposed lines before the first frost
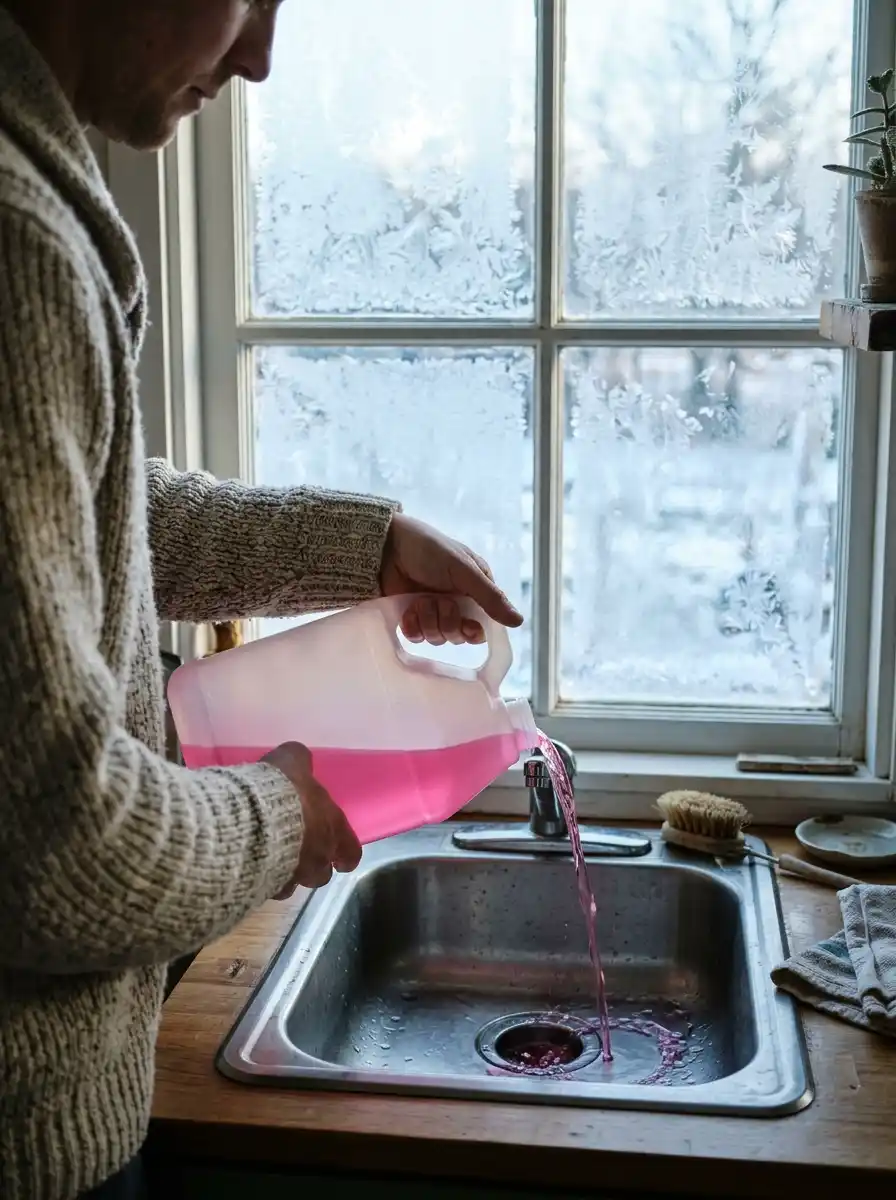
Below 32°F (0°C), water expands as it freezes. It can split PEX fittings, filter housings and the coil inside the tankless heater. Use this list any time the house will sit empty and unheated:
- Switch off the pump and open every faucet, hot and cold
- Open the low-point drain valve and let it run dry
- Drain the tankless heater with its plug, following the manual
- Unscrew the filter housing and empty it
- Pour pink RV antifreeze into each P-trap
If you live in the house all winter, keep it above 40°F inside. Open the sink cabinet doors on cold nights so warm air reaches the pipes.
Wrap any pipe outside the heated space, like the fill line or the greywater outlet, with self-regulating heat tape.
Cover it with foam insulation if the tape’s instructions allow. Heat tape draws power all night, so check that your battery bank can handle it before cold weather arrives.
Pink RV Antifreeze Only
Use nontoxic RV and marine antifreeze (propylene glycol, usually pink) in your traps. Car antifreeze is poisonous, and everything in your drains ends up in the mulch basin next to your plants.
Conclusion
Your water now has a complete path. It comes in through the fill inlet, gets pressurized on one board and heated on demand, then flows out to your plants. That is tiny house plumbing off grid with no well, no city line and no septic tank.
Here’s your challenge for this week: grab a notebook and count every gallon for three days before you buy a single part. That one number decides your tank size, your refill schedule and the weight on your trailer.
Once the system is running, a small summer rain catchment add-on is a good project for your next free weekend.
Pin this to your build-planning board so the full water path is waiting when you start.
Questions Builders Ask Before the First Fill
Is water from my off-grid tank safe to drink?
Yes, if it comes from a safe source and only touches drinking-safe parts: an NSF-61 tank, a lead-free hose and PEX. The carbon filter on your pump board improves taste. Rainwater still needs a UV light or boiling before you drink it.
How do I keep the freshwater tank clean?
Sanitize it every 6–12 months with ¼ cup of plain unscented bleach per 15 gallons of water. Run it through every faucet, let it sit 12 hours, then drain and refill until the smell is gone. Drain that bleach water away from your mulch basin so it doesn’t harm the plants.
Why does my new water taste like plastic?
New tanks and hoses give off a taste for the first few weeks. Fill and drain the tank two or three times, and keep a fresh carbon filter in place. It fades with use.
How much solar power does the 12V pump use?
Less than most people expect. A typical pump draws around 4–7 amps while running, but it only runs a few minutes a day, so daily use is usually under 5 amp-hours. Winter heat tape will use far more than the pump.
How often should I change the water filters?
Swap the sediment filter about every 3 months and the carbon filter every 3–6 months. Change them sooner if water pressure drops at every tap or the taste comes back.
Do I need a permit for off-grid plumbing in a tiny house?
It depends on where you park. A tiny house on wheels is often treated like an RV, while one on a foundation usually falls under local building code. Call your building or planning office before you dig a greywater basin or set up a composting toilet.
